Line Art
This tutorial is how I generally do my digital line art within Photoshop 7 – it may not be the best way, but I find it works ok for me ^_^ Sometimes I’ll experiment such as combining the final line art with the sketch, or digitally draw it in using a 2 pixel brush, but I generally like using the Pen Tool because of the clean, crisp lines it produces and it works well with a mouse or tablet! 😮
Preparing the Sketch
First of all, I start out with my pencil sketch. I’ve scanned it at 300dpi which is supposed to be a good level if you want to print it later and it shouldn’t be too strenuous on your computer when colouring.

I usually adjust the levels so I can see the lines better by clicking on Image in the top menu, then “Adjustments” and then “Levels”. Then slide the arrows to darken the lines and lighten the background colour to more of a white.
Using the Pen Tool
![]() Now that the sketch is ready, I grab the Pen Tool.
Now that the sketch is ready, I grab the Pen Tool.
![]()
The pen tool is one of the vector tools in Photoshop – if you can draw your entire line art using the Pen Tool, you should be able to resize it when you’ve finished to a larger size than what you started with – can be very handy o.o Anyway, the Pen Tool creates paths using Points and Anchors. If you click on the canvas using the Pen tool, it will create a point (which is good for drawing corners / sharp edges). For curves, you click and drag – it creates a point, as well as anchors. The anchors control the size and shape of the curve from one point to another.
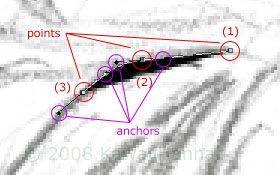 To the left, I have drawn 3 points on part of the hair.
I started out with (1), which was just a single click. The next two points (2, then 3), were clicked and dragged.
I was happy with the anchors, so I didn’t move them, but if you need to, use the Direct Selection Tool – click on the Point and then move the anchor.
When you’re drawing your line art, lower the opacity of the layer so you can see what you’re doing – when you’re happy with the shape of the line, then bring the opacity back to 100% again.
Creating your Shapes!
Here is the shape I have created for the side of the face. I started with the top point (shown in red) and moved down the left side of the line clicking and dragging to create points with anchors as I went. Try to use as few points as you can, because too many can conflict with each other – if you need one, add it, if you don’t…don’t.
 Because the particular line I’m tracing was sketched quite thick, I’ve kept directly to it when going back up the right side of the line to the top, where I closed the path with the point I started with.
Now repeat that with every other line on your sketch (yes, it’ll take a while…) XD
Finished!
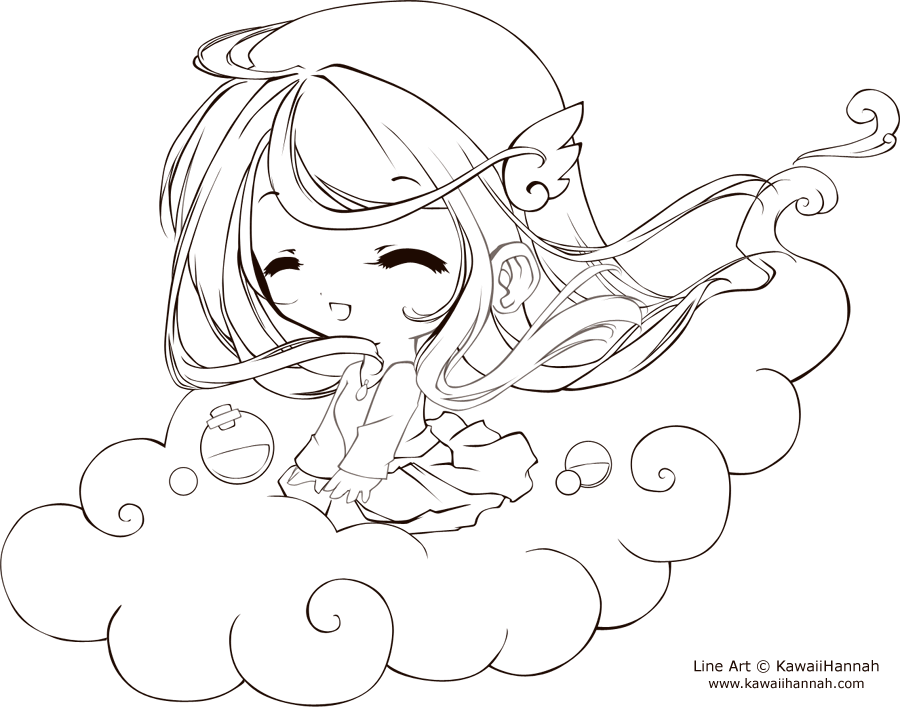
Wooo! My finished line art ^^ Took about 200 shapes to do in total o.o
Overall, this kind of line arting can take quite a bit of time to finish and can be fiddly, especially when you’re just starting to use the Pen Tool, but I think it’s worth it in the end~