
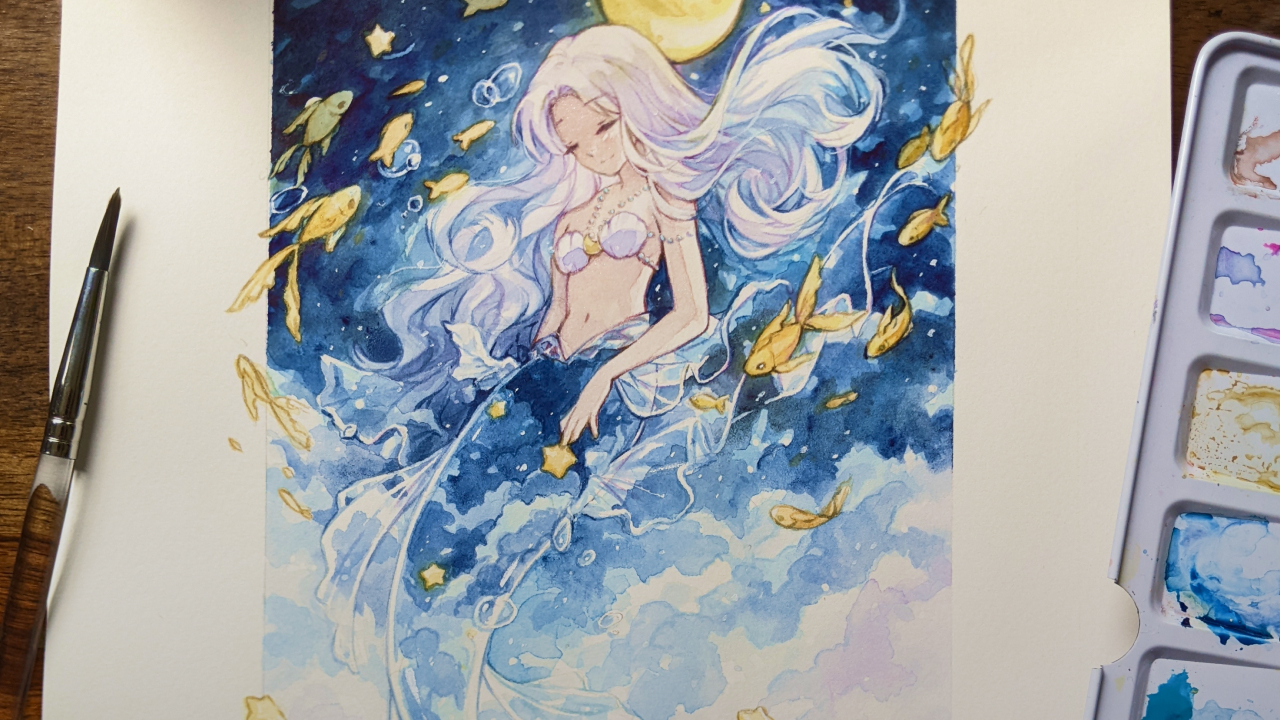
Cloud Mermaid Timelapse
The process of painting a cloud mermaid with watercolours.
I recorded this in May 2023 - it was painted for a draw this in your style hosted by Elby Draws on Instagram: / elby.draws. I really liked the design - blue is one of my favourite colours and I thought it'd be a great challenge to paint with watercolours ^^
This was all recorded on my old phone, which routinely borked my footage - you can see it a bunch where it just makes part of the image jump and it completely ate a whole section of this painting too ;w;
I used Hot Pressed 300gsm Arches watercolour paper, which is my current favourite paper, Mungyoo watercolours and Dr Ph Martins watercolours. I've had these watercolour sets for a few years now and they're still wonderfully vibrant to use!
The overall process
Before the painting process, I drew the initial sketch digitally, as well as a the colour composition. Sketching digitally allows me to try several different things quickly and easily move things around compositionally. The colour composition means that I know roughly what I'm trying to achieve with watercolours - it's generally pretty rough and not an exact guide, but by making some of those decisions early, it makes the painting process less painful.
Once I've got the sketch sorted, I can print that out and transfer it to the watercolour paper with pencil or coloured pencil. Occasionally I do draw straight onto the paper itself, but erasing too much can damage it a bit (hence the digital sketching). To transfer the sketch over, I use a lightbox (I used to just tape it to a window).
Preparation
Next up, I soak my paper in water for a bit to stretch it so it buckles less during painting! I use a lot of water when painting, so it'll inevitably buckle a bit anyway xD Once it dries, I can tape it to a board. There are several boards I use - an old white IKEA shelf that I picked up for $5 (not kidding) from the spares section, 2 A3 sheets of clear acrylic from RiotArt and sometimes I just tape the painting straight to my desk. Probably tape it somewhere you don't want to be using while you're working on the painting.
There's so much work in just the prep itself and you haven't even got to the painting x_x Once the painting is taped down and any edges I want masked, I can begin painting, which is where we start with the video ^_^
Watercolour works light to dark, meaning you need to keep any areas that you want white/the paper colour "masked" using masking fluid or tape OR be very careful to not paint over them. I'm not that steady of a hand, so I like to mask things off and start with the background first.
Background
When working towards a darker colour, like dark blue or black, there are several washes that have to be done over top of each other to get to that vibrant colour. I lost cound of them in this one, but I just keep layering over top until it's reached the stage I like. I also tend to start out with lighter washes to get more of a feel for painting, before I start going in with a more contrasted colour, because it's less anxiety inducing that way xD
By using several colours or shades within the early washes, you can get some vibrant gradients too. I used a mix of light blues and darker blues alongside black. If I were to use black on the lighter blues, it would get muddy quickly, but by using a darker or mid blue to blend it, it still looks vibrant.
Character
After the background is complete, I can remove all the rest of the masking fluid and retape the background so the paper is held, but it's not for the "square" part of the composition.
Removing the masking fluid is fun, but also nerve wracking sometimes, because I've had it bond with the paper and tear it on occasion ;w; So I try to keep it on the paper for as little time as possible.
Once the masking fluid has been removed, I can start those early washes of colour for the mermaid. This is essentially hte same process as the background, just with lots of different colours xD Layer them up, moving some areas into shadow and once there's a bit of a value contrast, I can start detailling areas too (eg, shading parts of the hair or tail).
I had to use several layers on the skin tone to get it to the shade I was looking for, but it's worth the effort to work on that slowly.
Finishing touches
Once the main part of the character is done, I outline areas using watercolour paint. Not everything gets outlined, but it means that the face becomes a lot more visible and defined. My favourite part of finishing touches is adding all the little white dots, sparkles and highlights!
Background music is Across Seas And Lands by Asher Fulero / @asherfulero