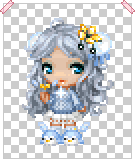
Lineless Pixel Doll Hair
Drawing pixel doll hair without using outlines.
Sometimes I don’t bother using outlines to draw hair on my pixel dolls. These are the steps I’ve taken to make the hair for two small pixel dolls.
Invisible Outlines
Ordinarily this step would be to draw the sketch, clean up and then flat colour, but I’ve done it all in one.
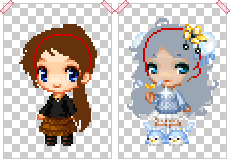
The red line is the outline of the head – you can see that the hair goes well beyond the red line. Drawing the hair too close to it can sometimes make the face look too big, but that is mostly dependent on the base itself.
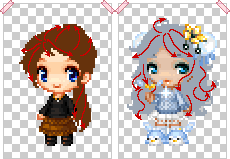
The arrows here, show the direction the hair will be flowing in.
The first style is a ponytail, which is pulled backwards and then flows downwards.
The second hairstyle is curly and flows out from the top of the head, curves around and downwards.
Ponytail
I’m going to focus on the ponytail for now.
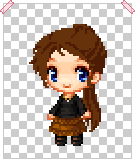
If you check the last step, you should be able to see that I’ve started adding shadows in the directions of the arrows.
I have used the shadows to show the bunches of hair. The side of the head that is further from the light has the most shadows.
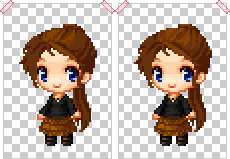
Here, you can see I’ve started to add some highlights in. This is mostly so that I can keep the shape of the hair and further define the bunches.
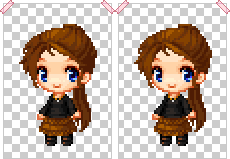
Here, you can see more definition. You can also see how I’ve phased out some of the previous highlights to make them brighter, or just to change the shape of the hair bunches.
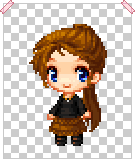
You can see in the image on the right, now there’s a drastic difference. The highlights are much more refined and you can see the shape and definition of the hair clearly now and I’ve added a few extra stray strands of hair within the style.
Even though we started without outlines, the way it’s been shaded has an appearance of an outline in a few places.
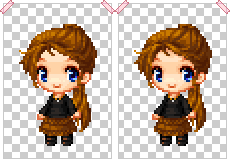
The last two steps for this hairstyle. I’ve finished the back of the ponytail, shading the ponytail and adding loose strands flowing down it and twisting around. I’ve also adjusted the shape of the fringe/bangs and then added shadows under the fringe/bangs to lift the hair off the face.
Curls
Alright now we’ll get to the curly hair. Based on the red arrows from the first section, I’ve added some shadows in.
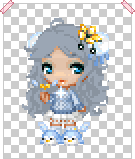
With curly hair, you need to be careful in your thought of where shadows go. Generally the back of the hair (behind the body of the avatar and facing away from the light) is darker, but some curls will be partially highlighted because of the way they twist and fall.
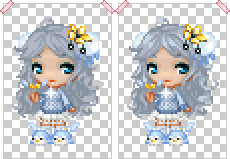
I’ve added two layers of highlights here. On the front bangs/fringe, you can see I’ve used the highlights at the top part to accentuate the curve of them.
I have also added highlights within the body of the hair to show how far forward the curls come – shadows and highlights give value, the highlights bring things forward.
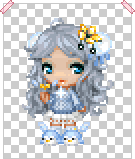
With curly hair, you need to be careful in your thought of where shadows go. Generally the back of the hair (behind the body of the avatar and facing away I decided I needed another layer of shadows to bring the highlights out better, so I’ve added a few in select places.
I’ve tried to be careful with these and use them sparingly so they don’t take over too much.

This is the final step.
I’ve used the previous steps to set the base for the highlights and shadows and refined things, to make the overall pixels tidier and to further define certain areas.
I also added another layer of highlights because I felt the hair simply wasn’t shiny enough XD And I’ve highlighted around parts of the outside of the hair where “outlines” have appeared so they don’t stick out. And that’s it ^_^
