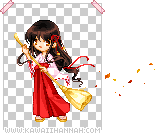
Miko Base & Doll
The process of drawing the Miko base and doll. This tutorial is from 2010.
I often get asked how I make a base and I took progress shots while making this Miko doll back in 2008. So yes, it’s a bit old now at the time of writing the walkthrough, but the basic principles still stand ^^
Base Purpose and Sketch
I find the key to making a base is to have a purpose for it. Doll bases come in all shapes, sizes and styles and finding exactly what you want can be difficult.
I wanted to draw a Miko doll holding a broom as though she were sweeping. But I only wanted a small base. Something along the lines of a trainer sprite found in Pokemon games.
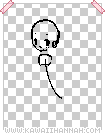
That’s rather specific, so it was easier to just make a base than try to find one. The image on the right was the initial sketch I did to work from.
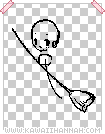
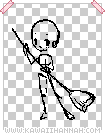
A broom sketch was added and positioned where I wanted the final broom to be on the doll. This allowed me to draw the arms specifically in the pose needed. I also sketched in the legs.
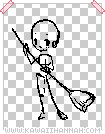
I decided the hips weren’t over far enough, so I moved them to the left so the weight wasn’t leaning so much to one side.
You should be able to see that the actual sketch for this base is quite simple – it’s really just a glorified stick figure XD
But the stick figure is important, because it is the skeleton for the final base. It allows us to see if the base will look like it’s going to fall over, or how long it’s legs / body will be or how big the head is etc.
Base Lineart and Shading
So our sketch is done, now we can draw the outlines of the base.
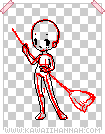
I’ve put the sketch in red and drawn the outlines over top in black.
You can see I’ve followed the sketch here quite closely, keeping the lines following the curves of the sketch. Getting into anatomy is really too much here and this base isn’t anatomically correct anyway (it doesn’t even have a nose!) XD
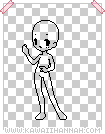
Just try to judge how long the legs, body and arms should be, based on the style you’re going for, same as the head, it’s face and the size.
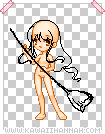
Above is the final, clean line art, without the sketch underneath.
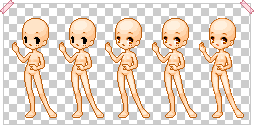
These are all the steps for shading and lighting the base, right through to blending in the outlines and anti-aliasing the face.
The eyes are shaded quite basically, with a semi-gradient from dark to light, top to bottom.
Clothing and Hair
I’ve added the broom sketch back in here and drawn the sketch for the hair.
I’ve cleaned the broom up here and base coloured it. Then I’ve added clothes and base coloured the whole lot. I also threw some leaves in there for our Miko to sweep.
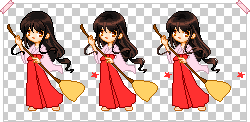
Here I’ve added highlights and shadows, defining the clumps of hair as I’ve gone.
I have finished the hair by adding loose windblown hair strands and then I’ve added ribbons. The broom has also been shadowed, highlighted and the outlines blended. I’ve tried to portray the depth of the broom by showing the ends of bristles at the bottom.
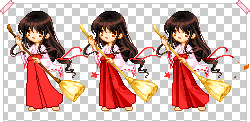
Above, I’ve finished the clothes – I changed the clothing flat colours on the second doll, because I felt they weren’t quite dark enough. The third doll I added small details and shaded the ribbons.

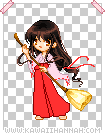
Here, I added all the extra details, sandals and hair ribbons and the finished off the leaves.
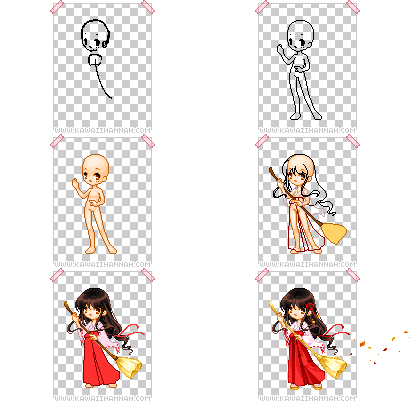
You can see the animated steps here.
