
Steam Dollmaker
The process of making the pixel art steam dollmaker.
A while overdue, but here nonetheless XP This walkthough isn’t intended to be overly informative, but it shows the steps I took in making the dollmaker, as well as some of my thoughts for the steps.
Design and Base
So the idea behind this was to make a steam powered dollmaker. I had already pictured the shape of it to be somewhat like a train engine, with a conveyor belt going through it.
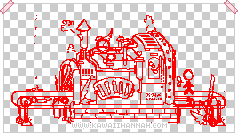
And this was the sketch I came up with.
There are some things in this sketch that get changed / don’t make it to the final animation – like the lever I added at the bottom right.
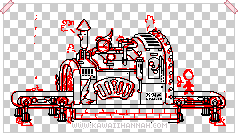
Seeing that I was happy with the sketch, I began cleaning it up, by drawing the outline in black.
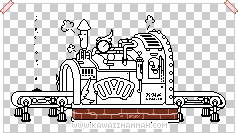
Finished the lineart and started laying out the basic brickwork.
Lighting
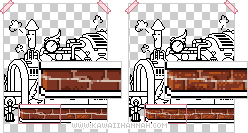
I decided to finish off the brickwork – to the left is the before and after.
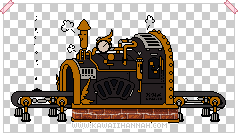
Then I decided to lay the rest of the base colours. I should have really done this before I did the brickwork XP Oh well.
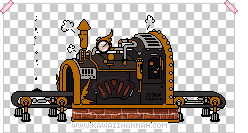
I decided to change the colour of the rivets on the right hand side to make them stand out better. Then I started adding some lighting in places. These bits of lighting are most just large blocks of colour, so that I can have things lit evenly.
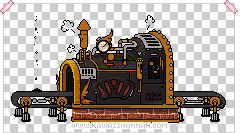
I decided to change the colour of the rivets on the right hand side to make them stand out better. Then I started adding some lighting in places. These bits of lighting are most just large blocks of colour, so that I can have things lit evenly.
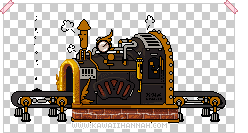
Finished the gold arch – when colouring the outline gold, I didn’t feel the shape was working, so I adjusted it a bit.
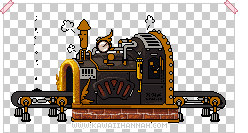
Added more lighting to the main body of the steam engine, as well as the door for the fire.
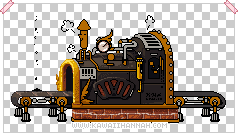
More cast shadows from the door and such. The conveyor belt has had some detail added now. I tried to keep the shadows on the conveyor belt uniform, in an effort to make it easier to animate later XD
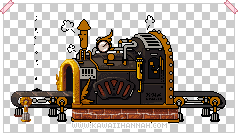
Detailed a cog / one of the conveyor stands on the left, ready for copying and pasting over the others.
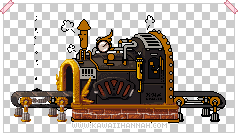
Here I’ve begun detailing some areas on the left with more lighting, including lightning the gold top of the brick base.
Details
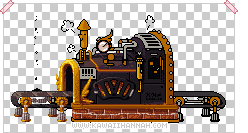
I decided I didn’t like the colour of the engine body XP I felt the whole thing looked too monochrome, so I changed it to a warm, dark purple. I also adjusted several of the other colours, to make some more saturated etc.
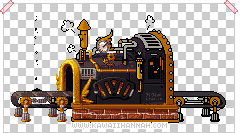
Next, I moved back onto detailing, doing a vent, a gold pipe and some cogs. I remember really liking the vent at that point XD
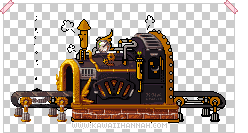
So after one vent, I moved straight to the next one… I added more details, as well as a slight hint of green to make a nice highlight.
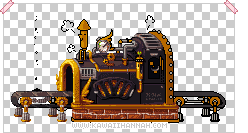
Added a lot more details now, shaded the pipes as well, and decided to start anti-aliasing some areas to blend them in more. It was fun adding them without using more new colours.
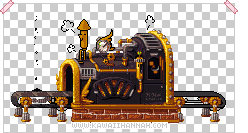
Now it’s looking much more finished. I finally got to shading that right arch, as well as the rivets on it. The pipes are also finished and I was getting ready to detail the cogs in the window of the engine.
Final Details
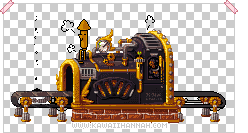
Finished the details in the window, as well as the decoration around the clock. I also added some highlights to the main body of the engine in just a few select places.
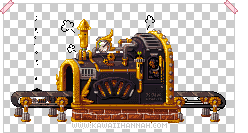
Nearly done now! Done the top bird-like valve (yes, that’s why it has an eye XD), finished the base of the engine and finalised the left side of the conveyor belt.

Finished off the conveyor belt, the gold dust and the steam and that’s it~ The box and dolls were drawn in the animating process, so I didn’t get any progress shots of those ^^; I also changed the massive chunk of gold dust for little pieces that constantly flow through.
Finished

Aaaand that’s everything. You can see how important it was for me to have the sketch right, because even with the changes, it’s still very close to the plan.
Hope that’s helped to show my working on it ^_^
